
Bedroom
Everyday clothes, long garments, folded pieces and shoes. Start with your wardrobe and how you get dressed.
The shape of your room is only the beginning. Learn the parts, compare the possibilities, and bring a clearer wish list to your consultation.
Explore the building blocks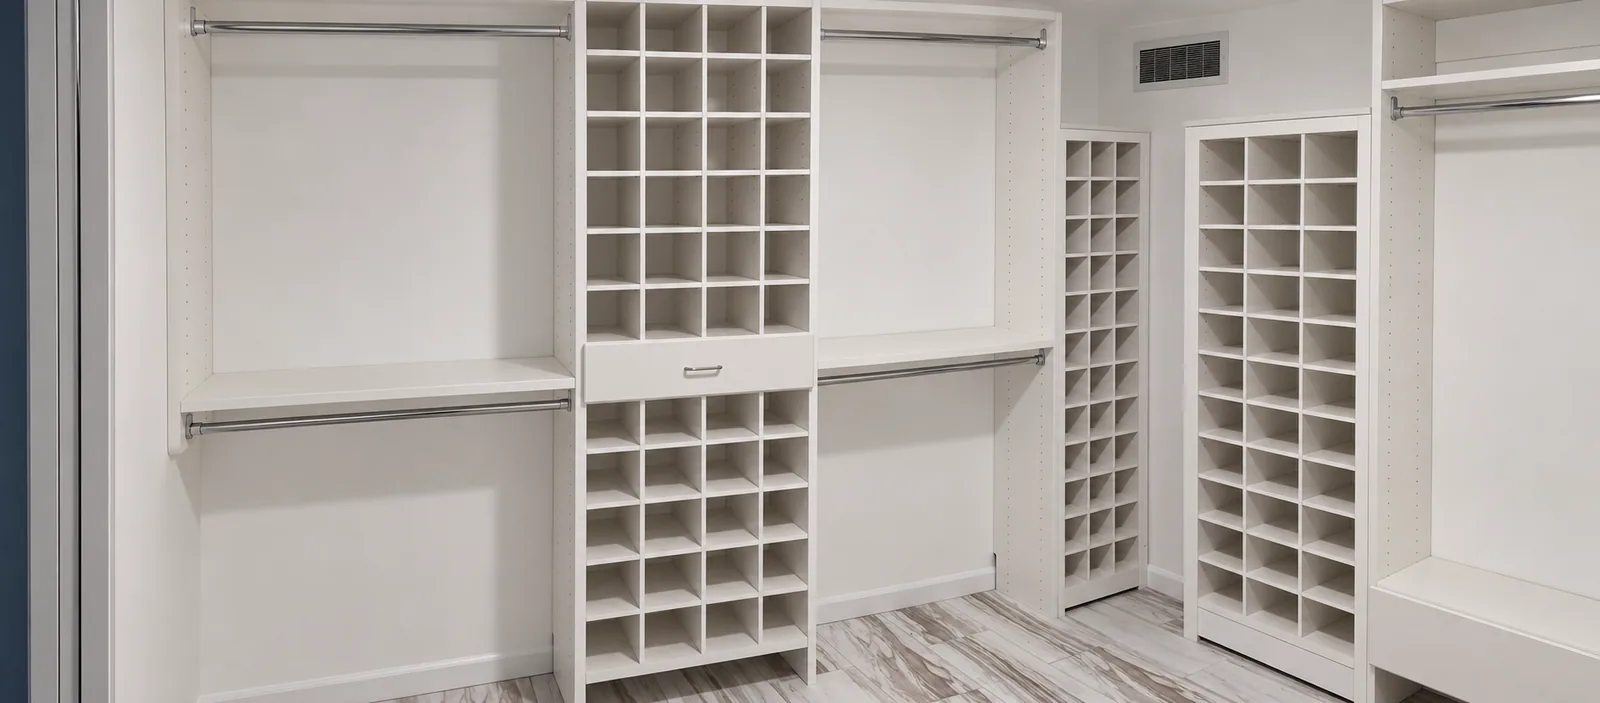
First, think about its job. Then look at how you enter it. A bedroom closet and a pantry need different storage, even when their footprints look similar.
Everyday clothes, long garments, folded pieces and shoes. Start with your wardrobe and how you get dressed.
Coats, guest belongings and the things you pick up on your way out. Make room for both daily use and visitors.
Food, cookware and small appliances. Plan shelf spacing around the items you actually keep.
Towels, bedding and household linens. Think about folded sizes and separating sets so they are easy to find.
Tall cleaning tools and household supplies. Allow for awkward shapes and the access each item needs.
You access the storage from outside the closet. Door openings, sliding panels and corners affect what you can see and reach. Put frequently used items where access is easiest.
You step into the space. The layout needs to balance hanging, towers and shelves with room to move. Plan around doors, windows and access to each storage section.
A useful layout combines long hanging, double hanging, storage towers and shoe storage. The mix comes from what you own and how you use it.
Illustrative layout only · proportions and placement vary by project.
Dresses, robes and longer coats need clear space below the rod. Start with the longest items you actually own, then discuss the hanging height and clearance with your designer.
Before we talk: Bring a few examples of your longest garments.
Two hanging levels can organize shorter pieces such as shirts, blouses and pants folded over hangers. The spacing should suit the clothes and the person reaching for them.
Before we talk: Think about what you reach for every morning.
A vertical section brings shelves, drawers and accessories together. Folded clothes, jewelry trays, hampers and baskets each need different space; choose the combination you will use.
Before we talk: Decide what you want to see and what you would rather tuck away.
Cubbies, shelves and racks can organize shoes along a wall or within a larger system. Plan for different shapes and heights, including boots, and leave room to reach each pair.
Before we talk: Count your shoes, including the seasonal ones.
Rod heights, panel sizes and shelf spacing are planned for your room, your reach and the selected system. Confirm dimensions and current product options with your designer.
There are two main shelving types: ventilated wire and melamine. Look at how each will work for the things you store.
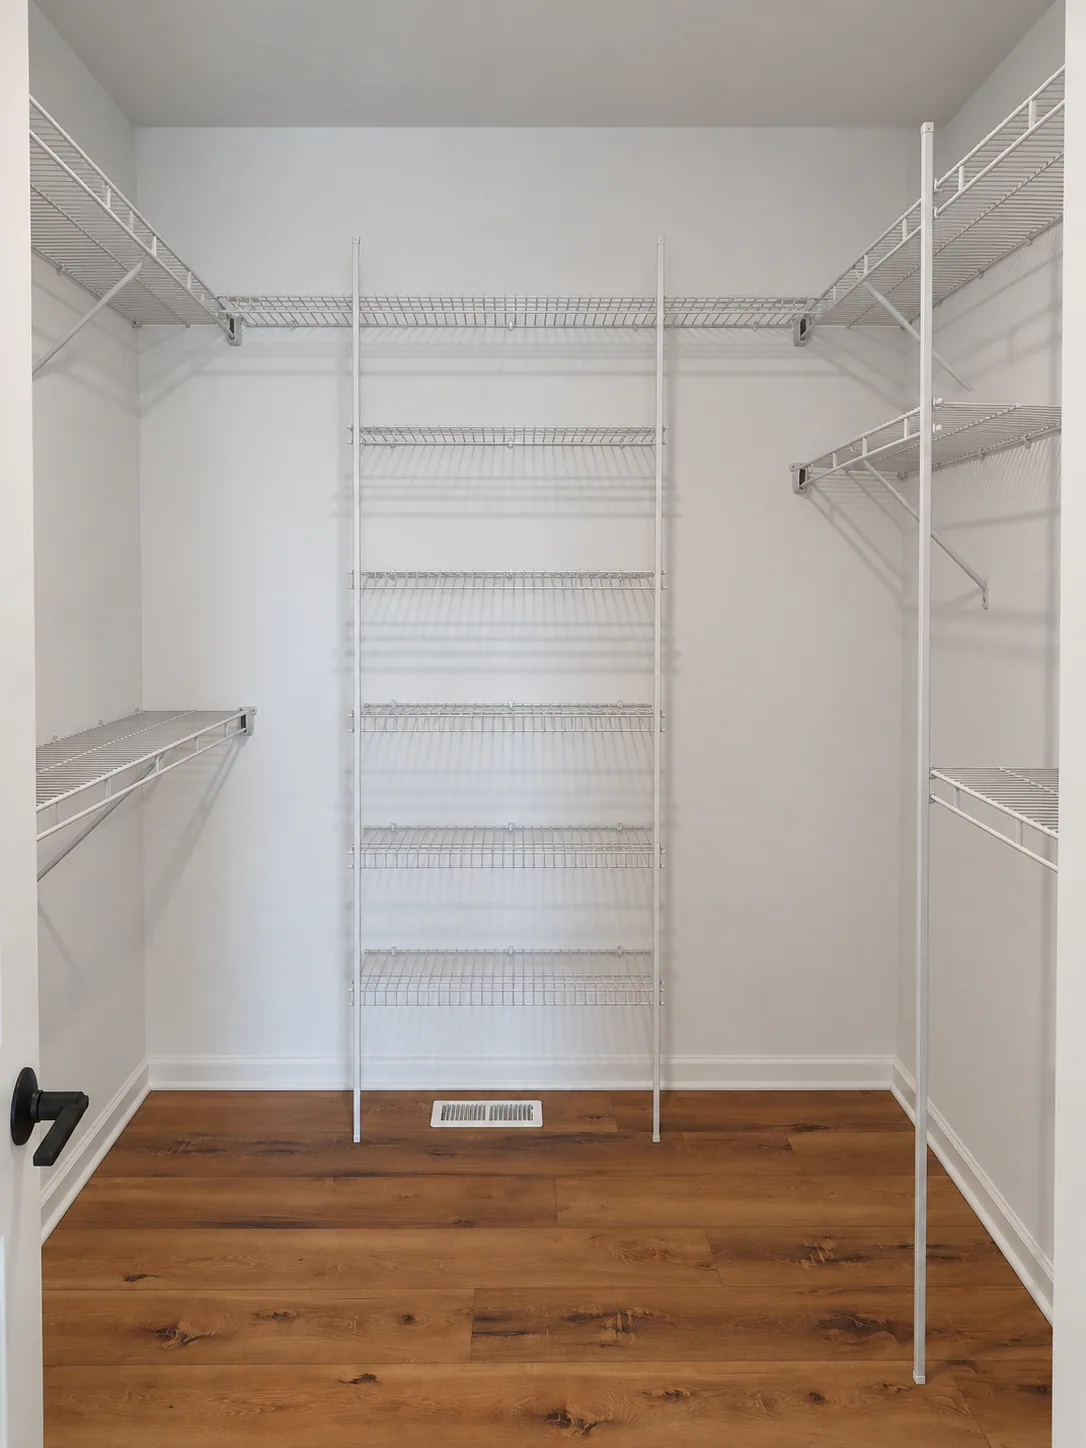
Wire shelving has an open surface and can be arranged into shelving and hanging sections. Consider how smaller items will sit on the surface and which accessories you may need.
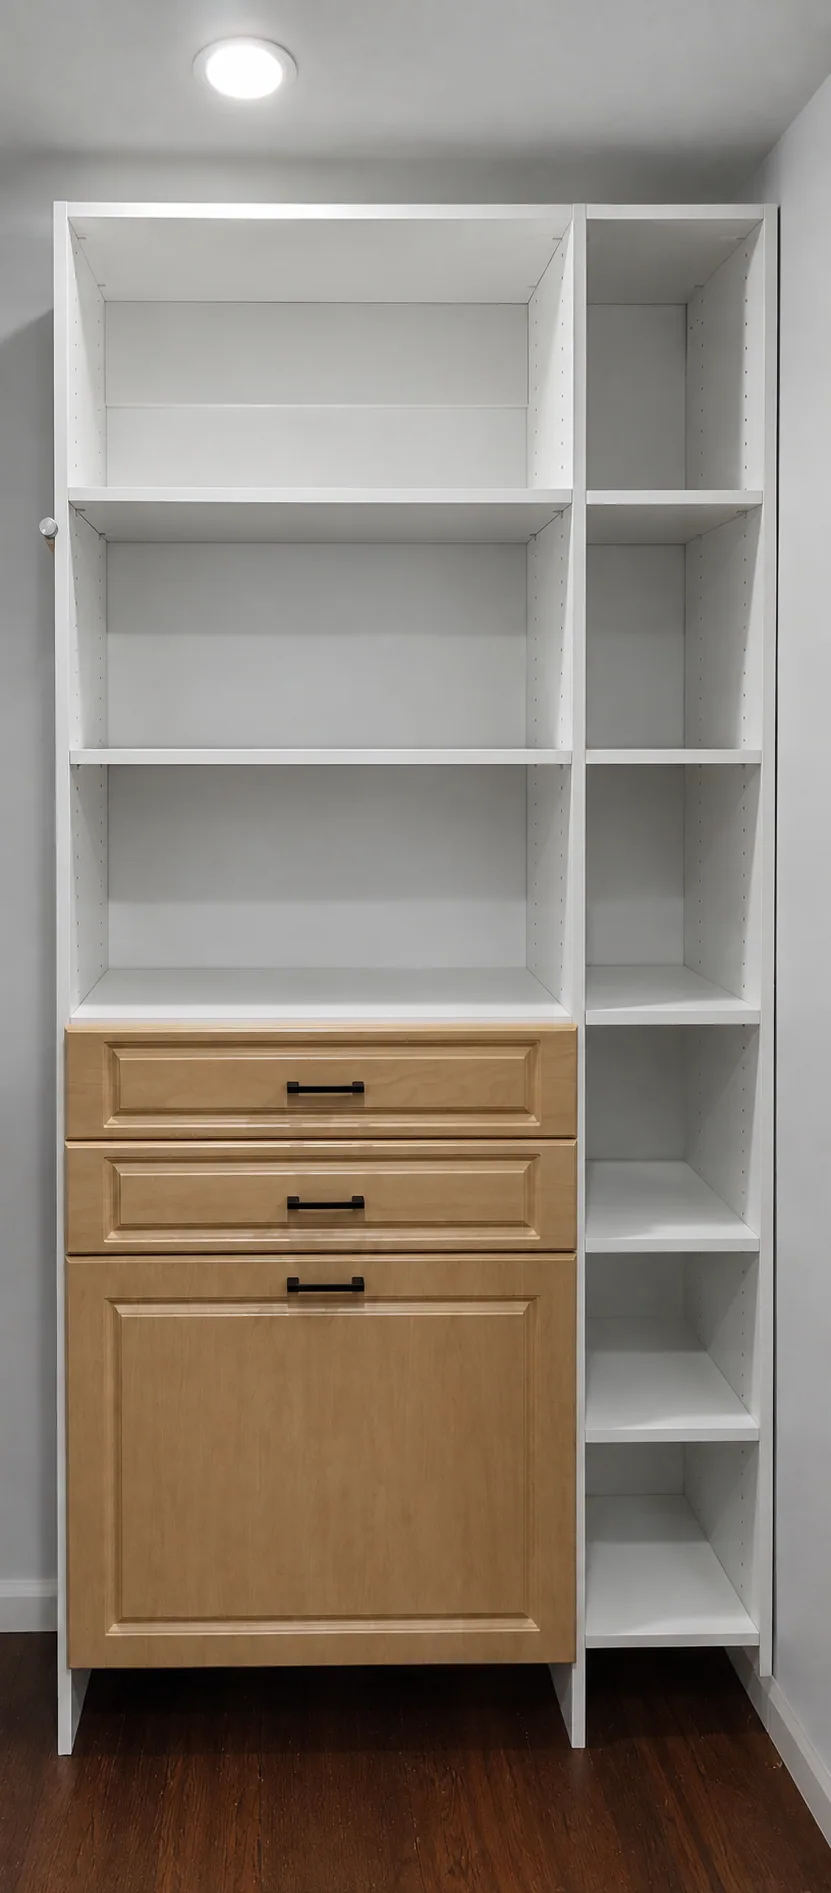
Melamine shelving uses a laminated surface over a wood-based core. Solid shelves, vertical panels and drawer fronts can create a coordinated, furniture-like appearance.
Photos are a starting point for inspiration. Screens and lighting change how finishes appear; make final selections from current samples. Color names and sizes can change, so ask to see what’s currently available.
Design, materials, installation, service, warranty and price all belong in the conversation. Compare the complete project, not just the price of a shelf.
Start with the current room, what is staying and what needs to change. Existing shelving, doorways and wall condition can affect the plan.
Talk through the layout while room details are still being coordinated. A floor plan can help start the conversation; finished conditions still need to be confirmed.
Both involve more than choosing shelves. Compare the responsibilities as well as the materials.
On a smaller screen, scroll the table sideways to compare both approaches.
| Part of the project | Doing it yourself | Working with Shelfmasters |
|---|---|---|
| Design & measurements | You plan the layout and check the fit. | Discuss your needs and proposed layout during the consultation. |
| Materials & hardware | Account for the complete parts list, tools and accessories. | Review what the proposal includes and any exclusions. |
| Installation & preparation | You arrange preparation and follow the system’s installation requirements. | Agree on preparation responsibilities, access and installation arrangements. |
| Support afterward | Review product warranties and the support available from the supplier. | Ask about written warranty terms and the Living Guarantee for your installation. |
Costs and timing depend on the scope. This comparison does not promise a particular saving, installation duration or increase in home value.
Family-owned in Western New York since 1988, with no franchise fees.
Start with what you need your space to do. Discuss the layout, the details and the full proposal with a local team before moving forward.
With our Living Guarantee™, we come back to make small adjustments at no charge for as long as you live in your home. Ask how it applies to your installation.
More about the Living Guarantee ↗A little preparation makes the conversation more useful. Check off what you have thought about.
This checklist stays on this page only. It is not saved or sent.
No. You don’t need drawings to get started. Bring photos and approximate room information if you have it. We’ll confirm final measurements before anything is ordered.
Yes, the design conversation can include hanging, shelving, drawers and accessories. The combination depends on the room, the selected system and what you need to store.
This guide is useful for learning the concepts, but it is not a current catalog. Ask to see the finishes, dimensions and accessories available for your proposed system.
No. A consultation request is not a confirmed appointment. We’ll contact you to set up a time.
Tell us about your space with a free consultation request, or contact us with a general question.
Free Consultation Contact Us ↗